Capturing Epic Shots in Hawaii Volcanoes National Park: Sunset at Holei Sea Arch and Nighttime Lava Glow
Hey everyone, if you're passionate about landscape and nature photography, my latest YouTube video dives deep into one of my favorite spots: Hawaii Volcanoes National Park. In the video I share practical tips for photographing the stunning Holei Sea Arch at sunset and the mesmerizing lava glow at Halema'uma'u crater under the stars. This blog post expands on those ideas, providing more details to help you plan your own adventure. Whether you're shooting film or digital, these hacks will elevate your shots. Let's break it down!
Planning Your Photography Trip to the Park
Hawaii Volcanoes National Park is a photographer's dream, blending dramatic coastal scenes with volcanic wonders. To make the most of it, dedicate at least two days—one for daytime exploration and another for night shoots. The entry fee is $30 per vehicle, and no special permits are required for basic photography (drones are a no-go, though). As of early 2026, the main visitor center is under renovation, so head to the temporary setup at the Kilauea Military Camp (KMC) about a mile away. Pack essentials like layers for chilly evenings (it can drop to the 50s°F), plenty of water, a flashlight or headlamp, sturdy shoes, bug spray, and sunscreen. Download the NPS app for offline maps and real-time alerts, and check the USGS website for eruption updates—Kilauea has been active sporadically since December 2025. For the ultimate half-day itinerary, start with the Holei Sea Arch for sunset, then drive to the crater overlooks for lava glow after dark. The park is open 24/7, so timing is flexible. Avoid common pitfalls like wandering off-trail (volcanic fumes and unstable ground are real hazards) or forgetting to monitor weather for clear skies. January offers fewer crowds, making it ideal for serene shoots.
Essential Gear for Iconic Shots
Keep your setup lightweight since you'll be hiking. A DSLR or mirrorless camera is perfect, paired with a versatile zoom like 24-120mm for wide landscapes or a prime 28mm for expansive views. Bring a telephoto lens (100-400mm) for zooming in on lava details. Must-haves include a sturdy tripod for long exposures, polarizing and ND filters to manage light, extra batteries (cold drains them fast), and a rain cover for sudden showers. Apps are your best friends: PhotoPills for predicting sun positions and Milky Way alignments, the NPS app for navigation and USGS for safety alerts. This combo ensures you're prepared without overpacking.
Photographing Holei Sea Arch at Sunset
The Holei Sea Arch, at the end of the Chain of Craters Road (a 20-30 minute drive from the visitor center), is iconic for its rugged rocky formation framing the ocean. Arrive 1-2 hours before sunset—in December 2025, that's around 4-5 p.m., with the sun dipping at 5:55-6:00 p.m. The golden light transforms the waves into a dramatic spray, perfect for silhouettes and dynamic compositions.Use the rule of thirds to position the arch off-center, incorporating foreground rocks or crashing waves for depth. For techniques: Freeze motion with fast shutters (e.g., 1/250s) or blur water for a silky effect (1 second at ISO 32, f/36—add an ND filter for 10-20 seconds). Shoot in aperture priority or manual at f/8-f/11, base ISO 100, and focus one-third into the scene for sharp details. Experiment with long exposures to smooth the sea or capture bold outlines against the fiery sky.
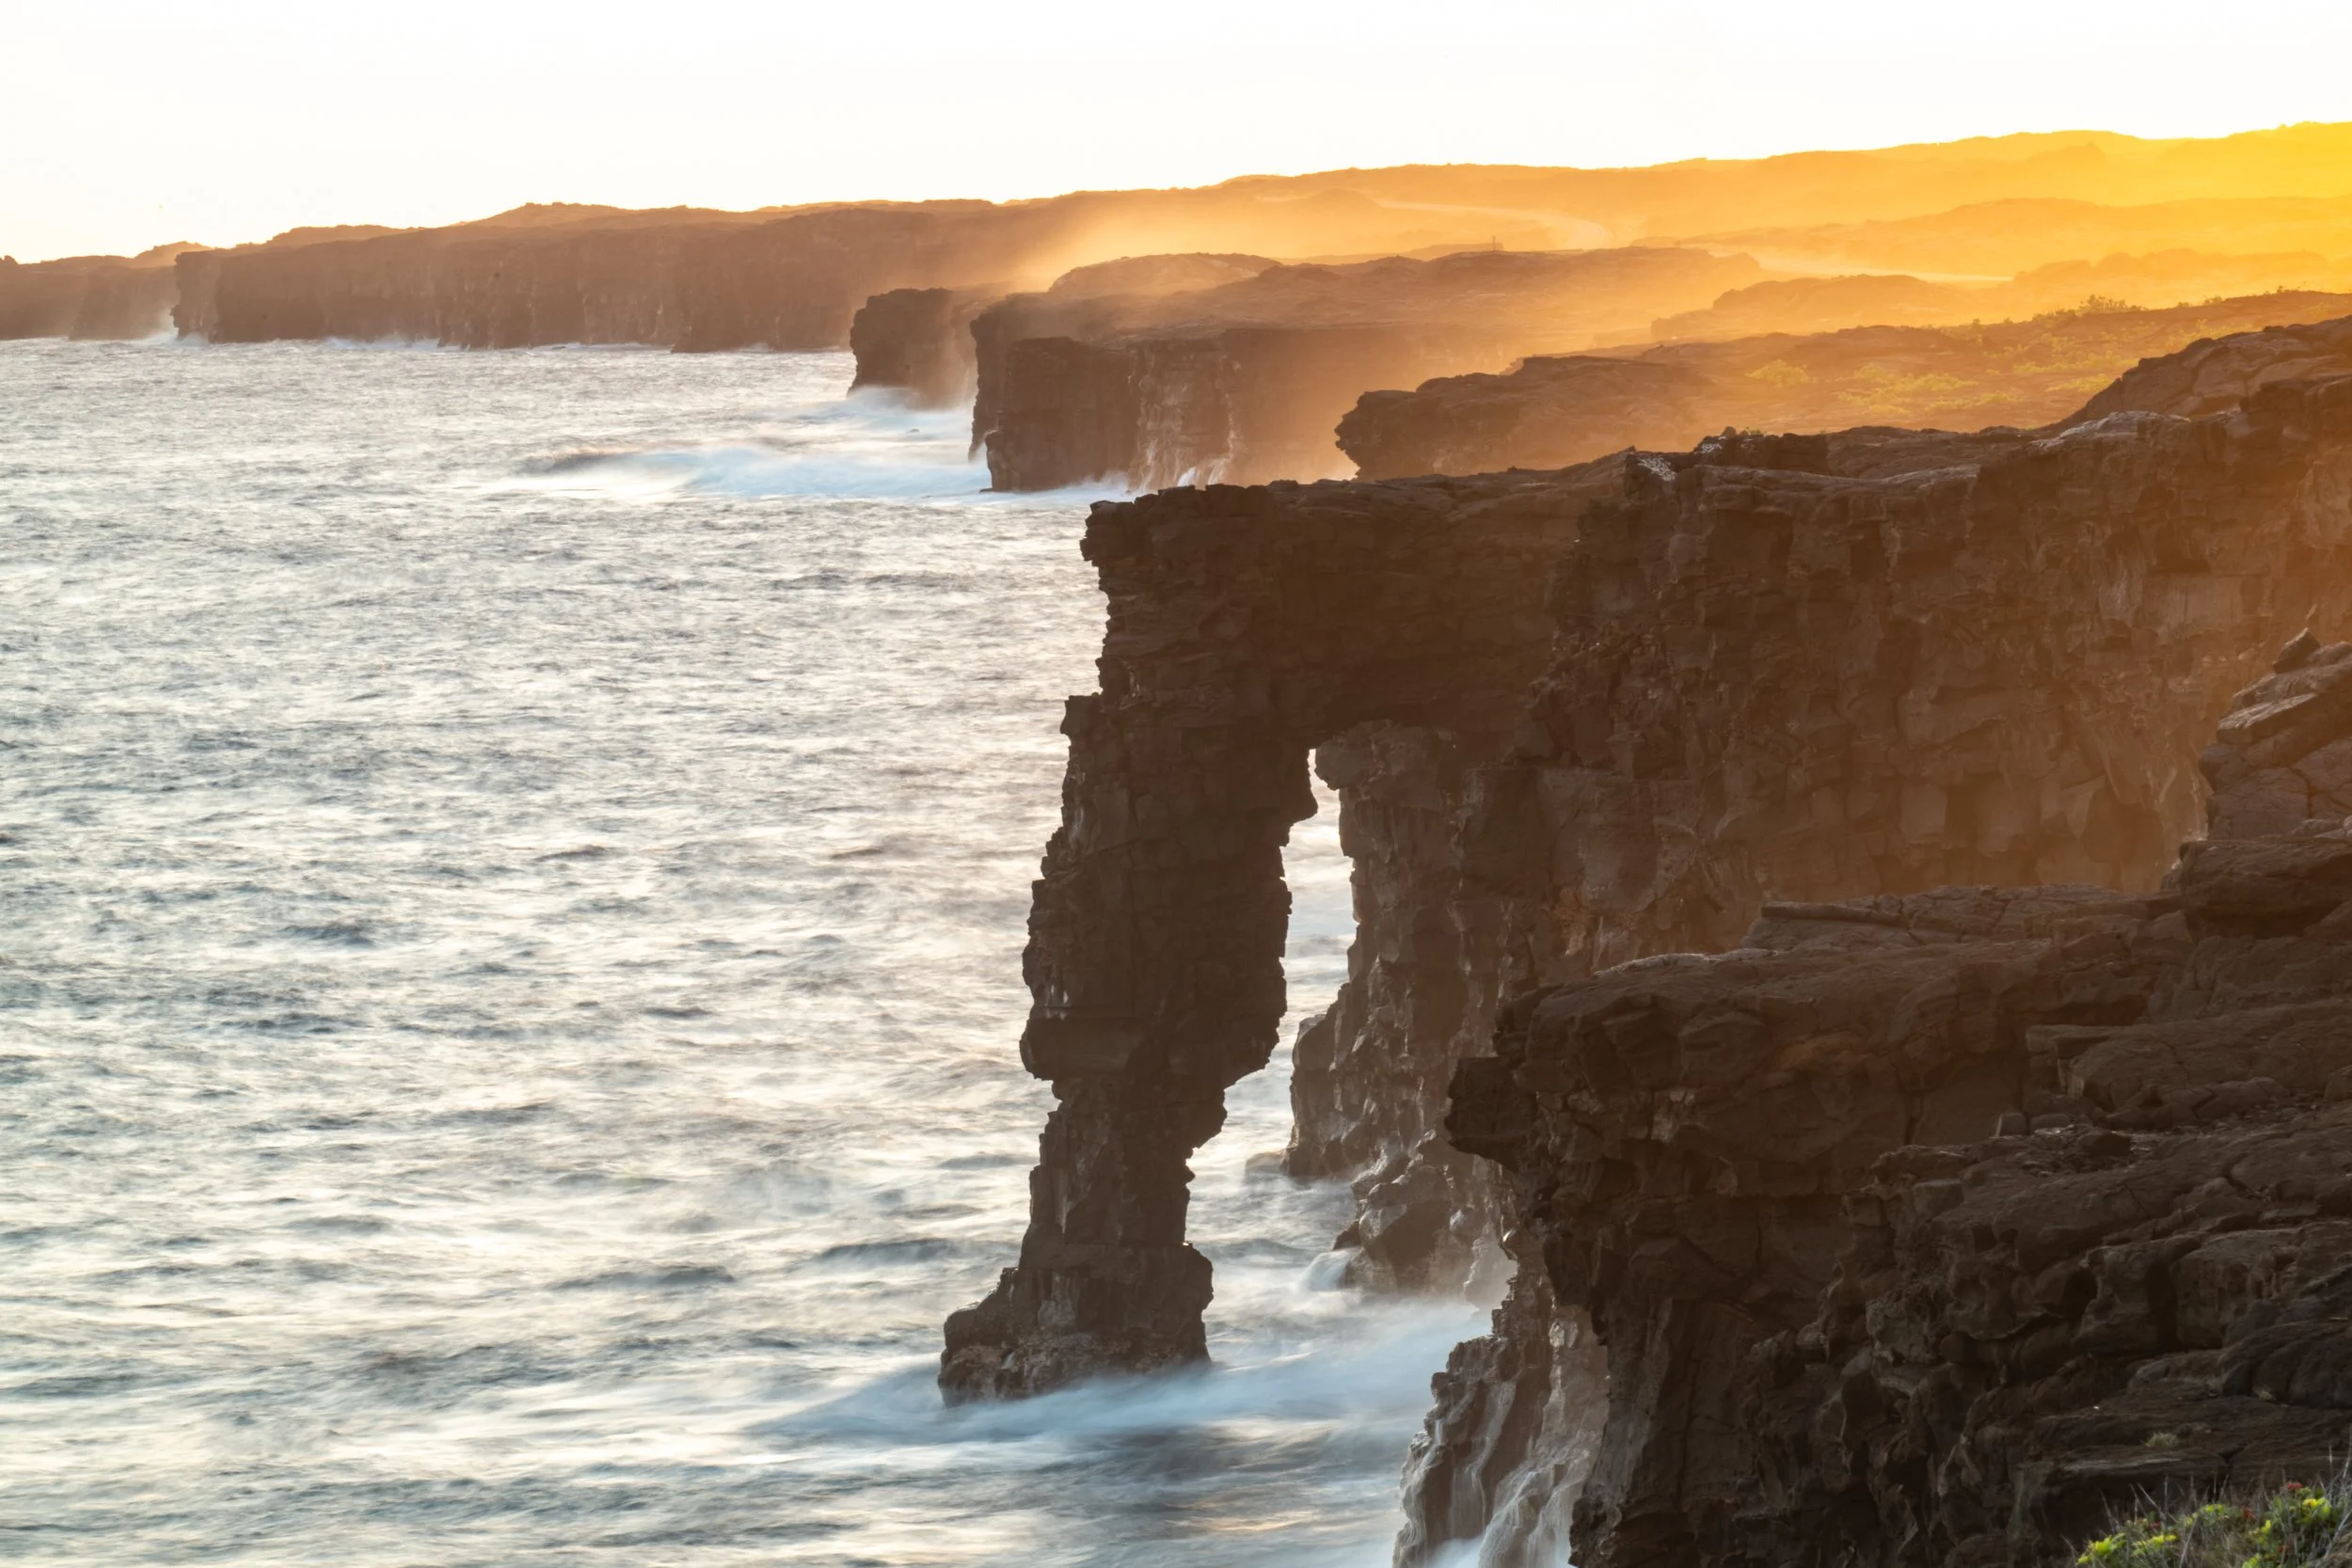
This spot's magic lies in its accessibility—minimal hiking required—yet it delivers spectacular results with the right timing.
Capturing the Lava Glow at Night
After sunset, head to overlooks like Uekahuna Bluff or Keanakākoʻi for the Halema'uma'u crater's orange-red glow. Wait until full dark (7-9 p.m.) on clear nights for the best contrast against the starry sky. Park at the Devastation Trail lot, then walk the old Crater Rim Drive to a roped-off dirt path—use a red-light headlamp to preserve night vision. Set up on a tripod and switch to astro mode for focusing. Frame the glow with the horizon and sky; PhotoPills helps align the Milky Way. Settings: Aperture priority, widest aperture (f/2.8-f/4), ISO 3200-5000, manual focus via live view, and self-timer to avoid shake. Shutter speed follows the 500 rule (500 / focal length, e.g., 17 seconds for 28mm) to keep stars sharp—adjust for crop sensors. Go wide for context or zoom for molten details. For star trails, try bulb mode for 10-20 minutes.
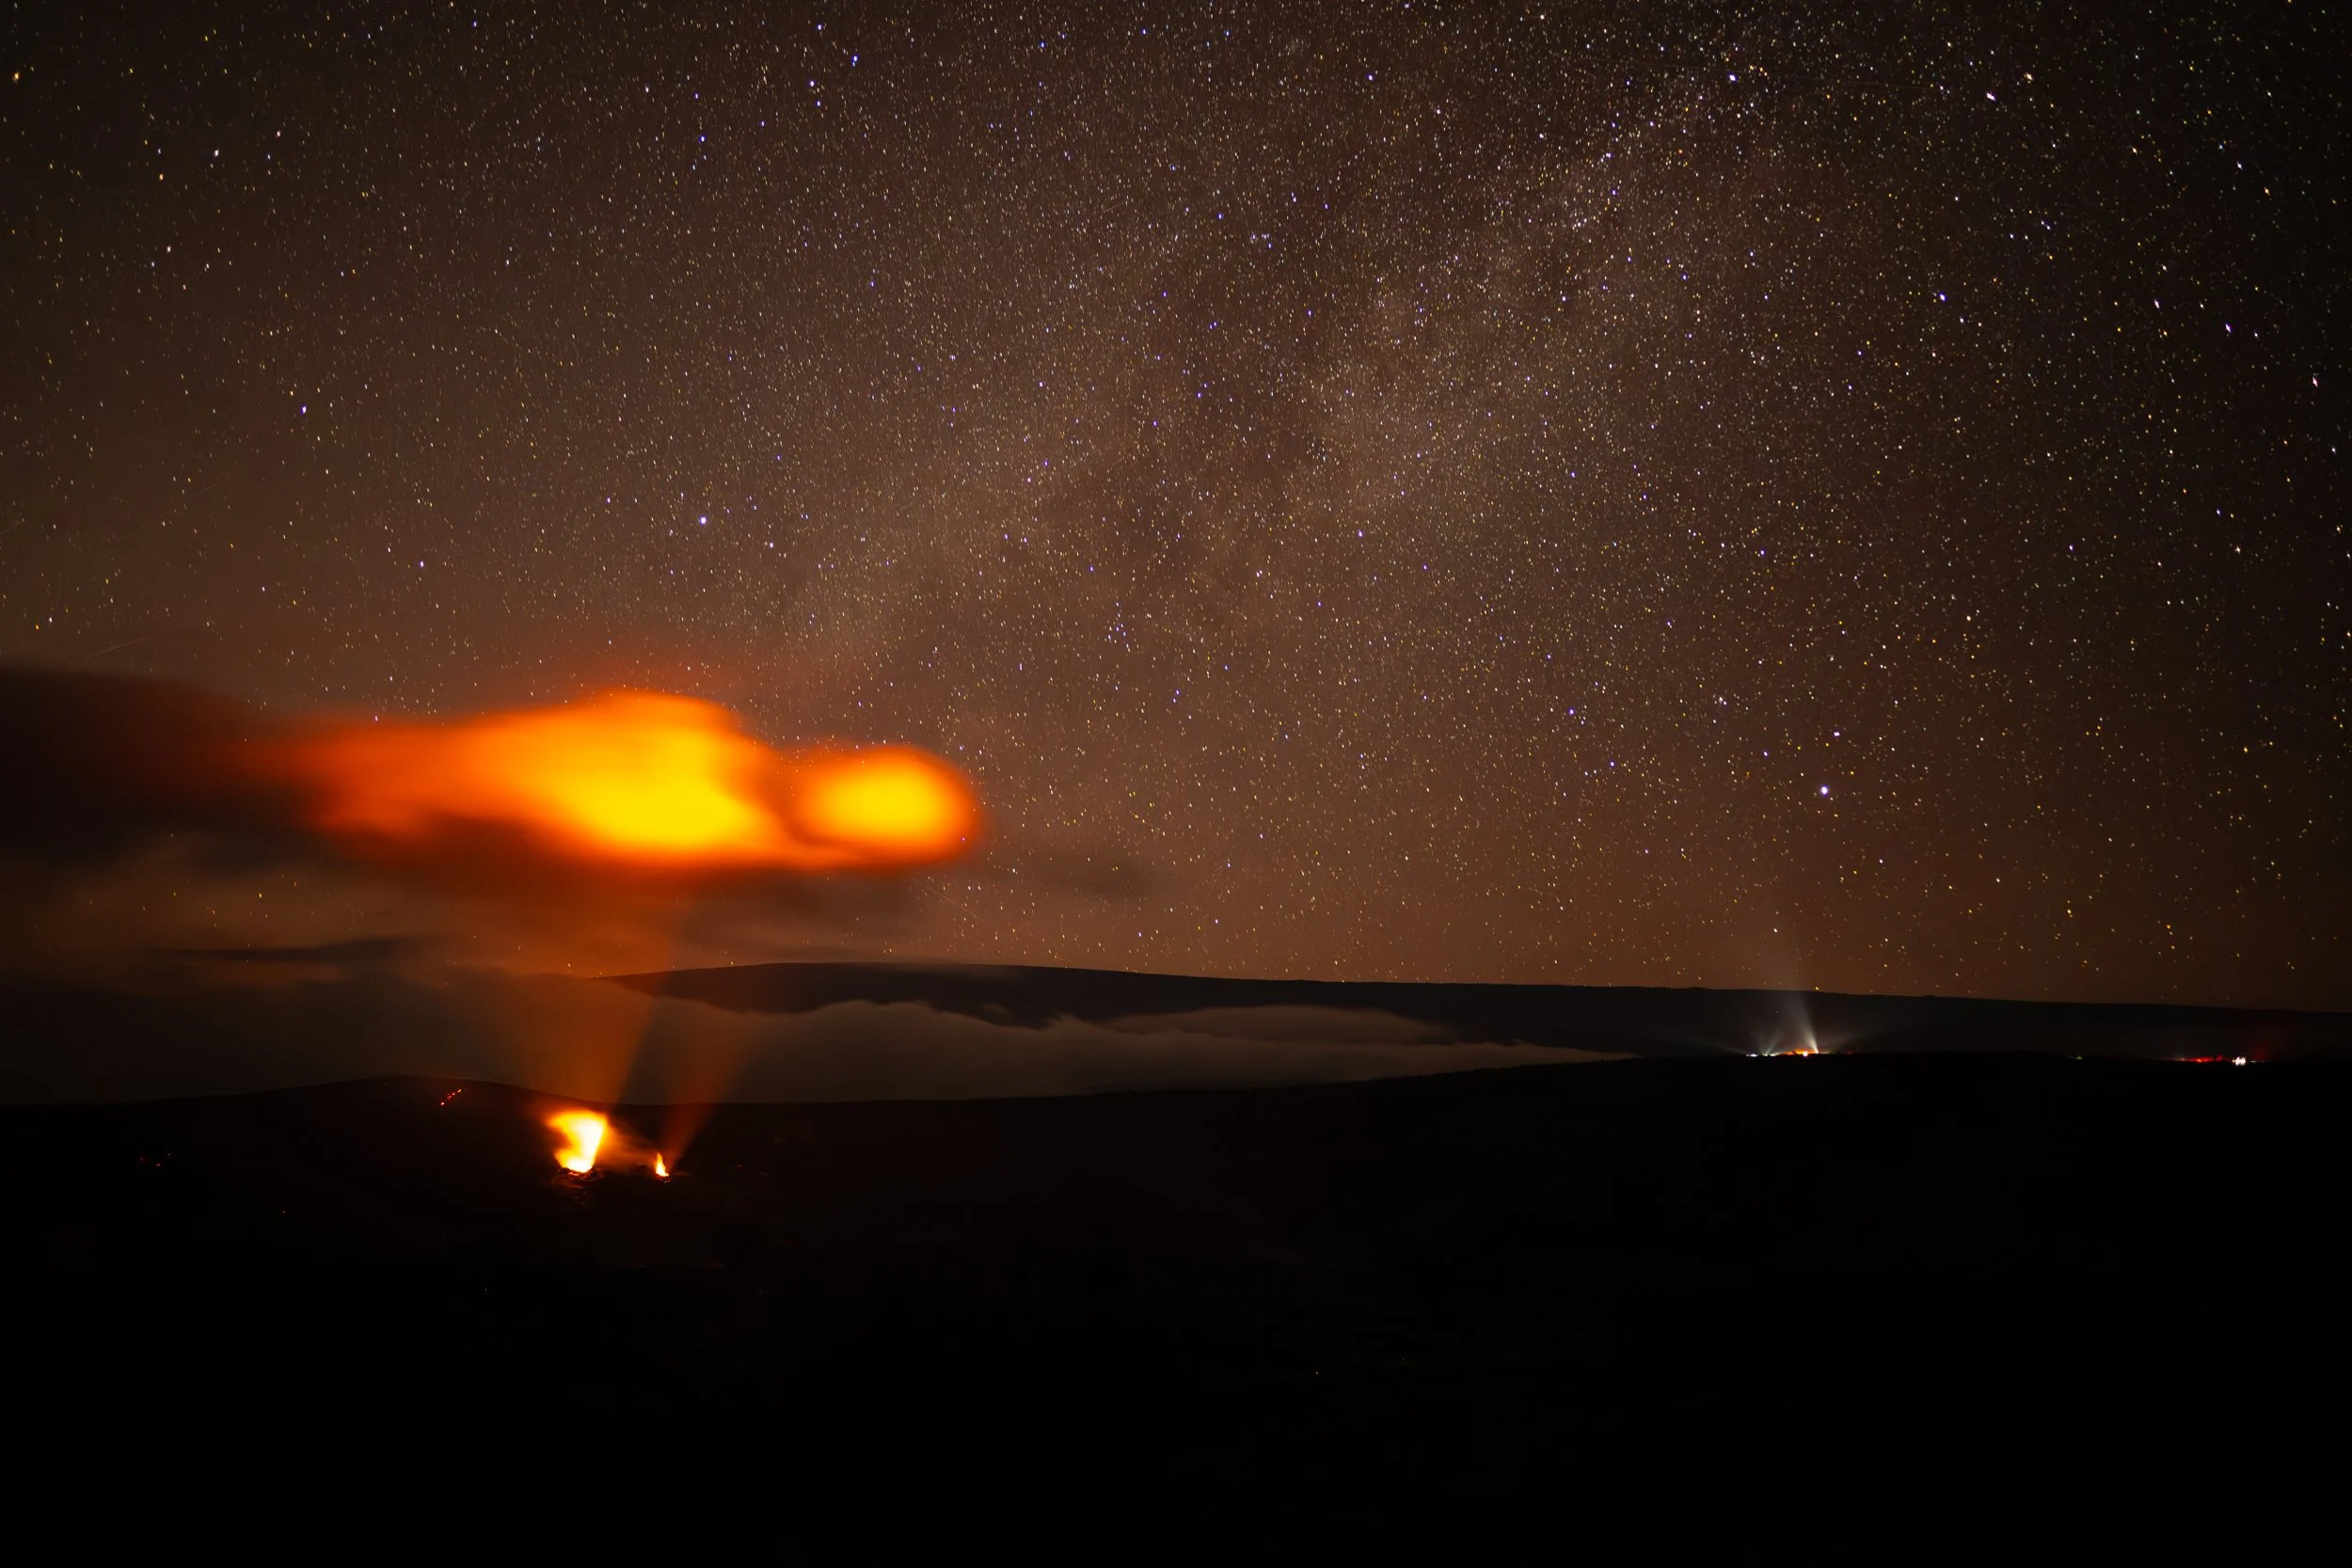
Lava glow and the Milky Way at Halema'uma'u crater.
Post-Processing with DxO PhotoLab 9
Back home, elevate your RAW files in DxO PhotoLab 9. Start with a flat camera profile, then apply subtle defaults: Smart Lighting at 15 for balanced exposure, ClearView+ at 10-24 for natural detail enhancement (great for Milky Way pops). In the Color tab, choose Vivid rendering to boost without oversaturating—avoid Vibrant for lava shots to prevent unnatural oranges. Use HSL tools to tweak orange saturation and luminance for that perfect glow. For high-ISO noise (common in night shots), Deep Prime XD works wonders, cleaning up ISO 5000 images effortlessly. Reduce highlights if the glow overwhelms, and remember: Less is more for authentic edits. Try it yourself—use code EDALDRIDGE15 for 15% off any DxO software, including PhotoLab 9.
Final Thoughts
Hawaii Volcanoes National Park proves you don't need days of trekking for epic photos; a well-planned 4-hour window can yield sunset drama and volcanic fire under the stars. The video covers these tips in action, with real-time demos to inspire your next trip. If you enjoyed this, subscribe to my channel for more photography guides, and share your shots using #VolcanoesParkPhotos or #HawaiiPhotography. What's your favorite national park shot? Drop a comment below! Gear up and chase that light—happy shooting!