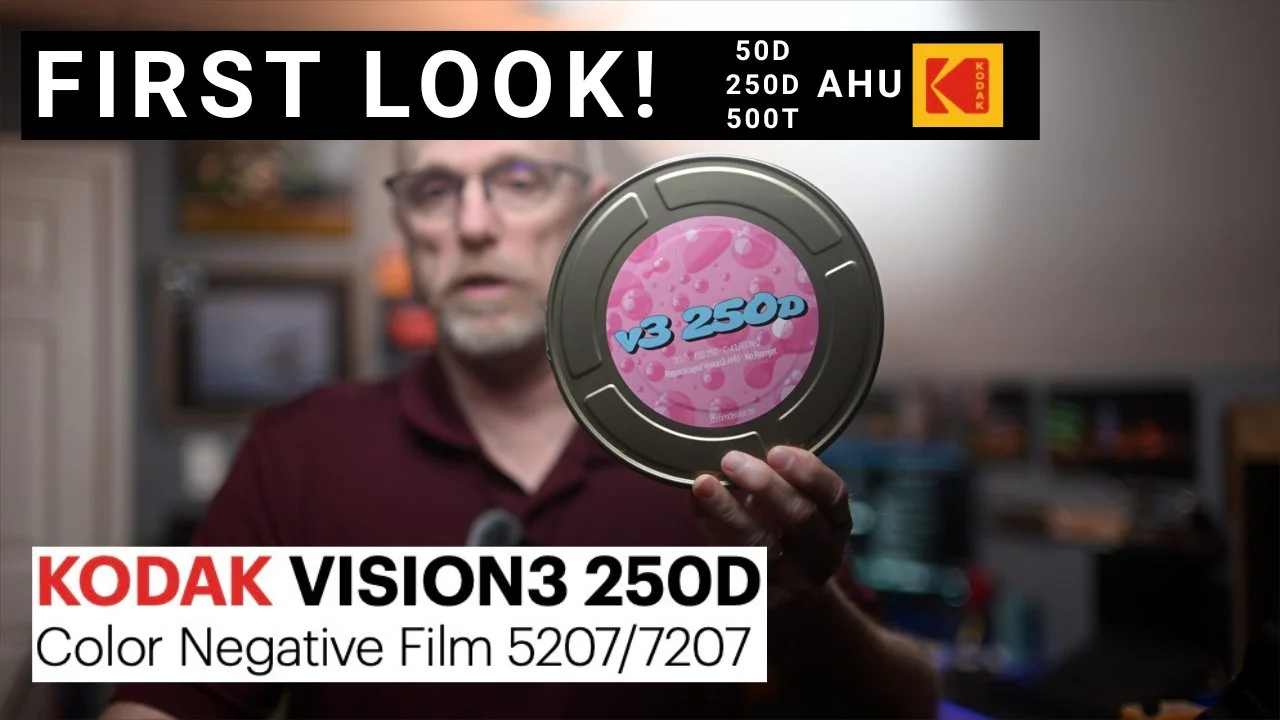
Kodak Vision3 AHU First Look: Remjet-Free Revolution for Film Photographers?
Film photography just got a major upgrade with Kodak's Vision3 AHU—the remjet-free version of their iconic motionpicture stock. In my latest YouTube video, I give a hands-on first look: unboxing, shooting a roll on my Nikon F6, home-developing with standard C-41 chemistry, and scanning the results. If you're tired of messy remjet but crave that cinematiclook, this could change everything. This companion blog post dives deeper into the video's insights, from what AHU meansto real-world performance on stocks like 50D, 250D, and 500T. Watch below for the full demo, and subscribe for upcomingdeep dives like night shoots and comparisons!
What is Vision3 AHU and Why the Hype?
Kodak Vision3 is beloved for its fine grain, vibrant colors, and cinematic tones—think Hollywood films. The catch? Traditional versions have a remjet backing that protects against halation but requires special removal during development, often leading to messy tanks or lab fees. Enter AHU (Anti-Halation Undercoat), a remjet-free innovation that lets you process it like any color negative film using standard C-41 chemistry at home.
In the video, I unbox fresh rolls of 50D, 250D, and 500T AHU. These are daylight (D) and tungsten (T) balanced stocks, with ISO ratings from 50 to 500. The packaging is sleek and pro-grade, and the film loads like any 35mm canister—no surprises there.
Shooting Experience: Metering and Real-World Tests
I wasted no time: Loaded the rolls into my Nikon F6 and hit the streets at dawn for varied lighting. Shot the 500T first in low light (no sun yet), switched to 250D as the glow built, and finished with 50D in full sun. No filters for the initial test—shot at box speed to see performance.
Key takeaways:
Handling and Metering: Meters beautifully; the F6's matrix metering nailed exposures. For 500T in daylight (tungsten-balanced at 3200K), expect a blue cast without an 85B filter—Kodak recommends rating it at 320 ISO with the filter for correction. I skipped it here but plan a filtered test soon.
Dynamic Range and Contrast: Excels in high-contrast scenes. Dawn shots with deep shadows and bright skies showed no blown highlights or crushed blacks—far better than consumer films.
Halation and Flare: Minimal blooming around lights (e.g., street lamps showed slight halation in one angle, but nothing excessive). Sun flares were controlled, adding a subtle cinematic glow without it being overwhelming.
Pro tip: For best results, use a quality lens and avoid direct sun—AHU's anti-halation layer shines in mixed lighting.
Home Development: C-41 Simplicity
No remjet means no pre-wash hassle! I developed the film using standard C-41 kits: A quick pre-wash, then normal processing. Total time: Under an hour (including film drying), with no black gunk in the tank.
If you're new to home dev, AHU lowers the barrier—perfect for enthusiasts wanting cinematic results without ECN-2 chemistry or having to remove the remjet coating.
Scan Results: Colors, Grain, and Wow Factor
Scanned on an Epson Perfection V850 with SilverFast software (using Kodak Gold 200 profile as a base—no dedicated Vision3 yet). Tweaked white balance on neutrals for accuracy.
50D (Daylight, Low ISO): Ultra-fine grain, punchy colors, and insane sharpness. Handles bright sun and shadows flawlessly—ideal for landscapes or high-detail work.
250D (Daylight Balanced): Vibrant tones with pleasing grain. Dawn shots showed gorgeous pinks and oranges; high contrast (e.g., shadowed buildings vs. sunny facades) rendered beautifully.
500T (Tungsten, High ISO): Fine grain for 500 ISO; blue cast in daylight (as expected without filter), but corrects easily in post. Low-light alleys and pre-sunrise scenes popped with minimal noise.
Overall: Grain is tight and cinematic, colors natural yet vivid, and dynamic range rivals pro stocks. Some abstract shots (e.g., fountains, reflections) highlighted its artistic flair.
Drawbacks and Availability
It's not perfect—stock is hard to find right now (grab it when you can). The 500T needs that filter for daylight accuracy, and while grain is fine, it's not zero-noise digital. But for the price and ease? Game-changer.
Final Verdict: A Must-Try for Analog Fans
Vision3 AHU delivers pro motion picture quality without the remjet pain—I'm hooked and planning more tests. If you're into film, this could replace stocks like Portra for cinematic vibes on a budget. Thoughts? Switching to AHU? Share in the comments below or on the video!
For more film reviews, dev tips, and analog adventures, subscribe and like. Questions welcome!
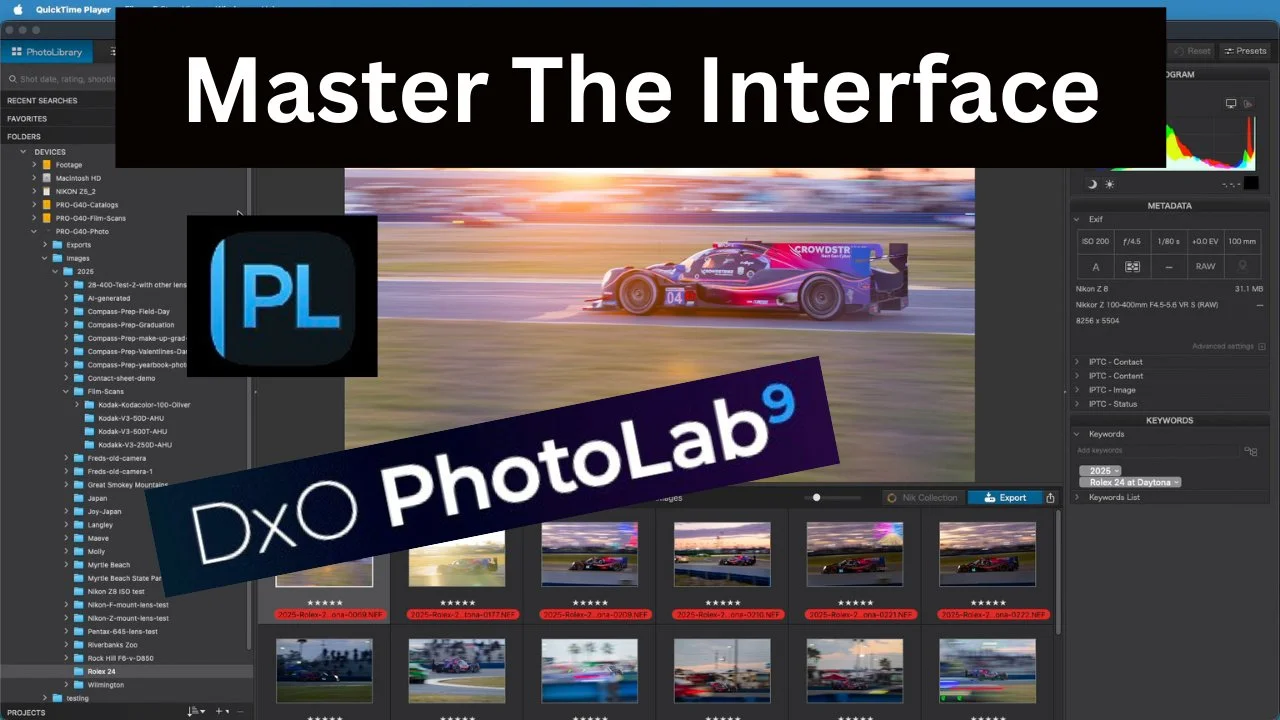
Mastering the DxO PhotoLab 9 Interface: Effortless Navigation for Faster Edits
If you've ever felt overwhelmed by the buttons and panels in a powerful editor like DxO PhotoLab 9, this guide is for you. In my latest YouTube video, I walk through the basics step-by-step, showing how to navigate from the Photo Library to custom workspaces for a smoother workflow. Whether you're new to PhotoLab or upgrading, mastering the interface can slash your editing time and make the process more enjoyable. This companion blog post expands on the video's tips with extra insights for photography enthusiasts. Watch below for the full demo, and use code EDALDRIDGE15 for 15% off DxO software!
Why Focus on the Interface?
PhotoLab 9 is packed with AI tools like Smart Lighting and DeepPRIME XD, but without knowing your way around, you'll waste time hunting for features. As I mention in the video, starting with the basics—like tabs and panels—turns overwhelmed into efficiency. This is especially useful for high-volume editors (e.g., sports or events) or beginners transitioning from Lightroom. No catalog system here—it's file-based, keeping things simple and direct.
Key Tabs: Photo Library and Customize
The video kicks off with the two main tabs—here's a deeper look.
Photo Library: Your File Explorer
This is where you browse and organize images on your drive—no built-in catalog like Lightroom. Organize folders by year, event, or whatever suits you (e.g., I use yearly folders for easy access).Metadata Search: If you've tagged files (e.g., via Photo Mechanic), search keywords like "2025" or "Rolex 24 Daytona" right in PhotoLab.
Projects and Favorites: Group scattered files into projects for quick access—great for ongoing edits. Add favorites or recent searches for shortcuts.
Customization: Hide/show panels (e.g., histogram) by clicking titles or dragging them. Right-click to toggle visibility—tailor it to your needs.
Customize Tab: Where the Magic Happens
Switch here for editing. Start in "Basic" view for essentials like white balance, exposure, and HSL. For more, jump to "Advanced" via Workspaces.Panels Overview: Exposure (smart lighting, selective toning), Color (white balance, gamut), Denoising (DeepPRIME AI), Geometry (fix converging lines), FX (vignettes, textures), and Masking (local adjustments).
Workspaces: "DxO Standard" keeps it simple; "Advanced" expands options. Star favorites (e.g., exposure, ClearView) and save custom workspaces (e.g., "Ed's Workspace") for one-click setups.
Top Toolbar Tools: Crop (with aspect ratios like 5x4 for 8x10 prints), Leveling, Healing (dust spots), Red-Eye. Hit "Close" to apply crops.
Pro Tips for Customization and Efficiency
Active Corrections: Click this button to see only changed settings—speeds up reviews.
Undo/Reset: Ctrl+Z (Windows) or Cmd+Z (Mac) steps back; reset filters if images vanish (e.g., click the filter icon and hit "Reset").
Auto Defaults: PhotoLab applies conservative base edits on import—no need for manual autos like in Lightroom.
Zoom and Compare: Double-click for 100% view; toggle denoising to check noise reduction (e.g., at ISO 125, it's subtle but effective).
Integration Ideas: Pair with Photo Mechanic for metadata, then edit here. For denoising, it's top-tier—preview off/on to see the AI magic.
In the video, I demo customizing panels and workspaces—try it yourself for a personalized flow.
Final Thoughts: Level Up Your Workflow
Mastering PhotoLab 9's interface isn't just about buttons—it's about editing faster and smarter. If this helps your setup, share your custom workspaces in the comments below or on the video! For more tutorials on DxO tools, film scanning, and gear reviews, subscribe and hit the bell.
Questions? Drop them here. Happy editing!
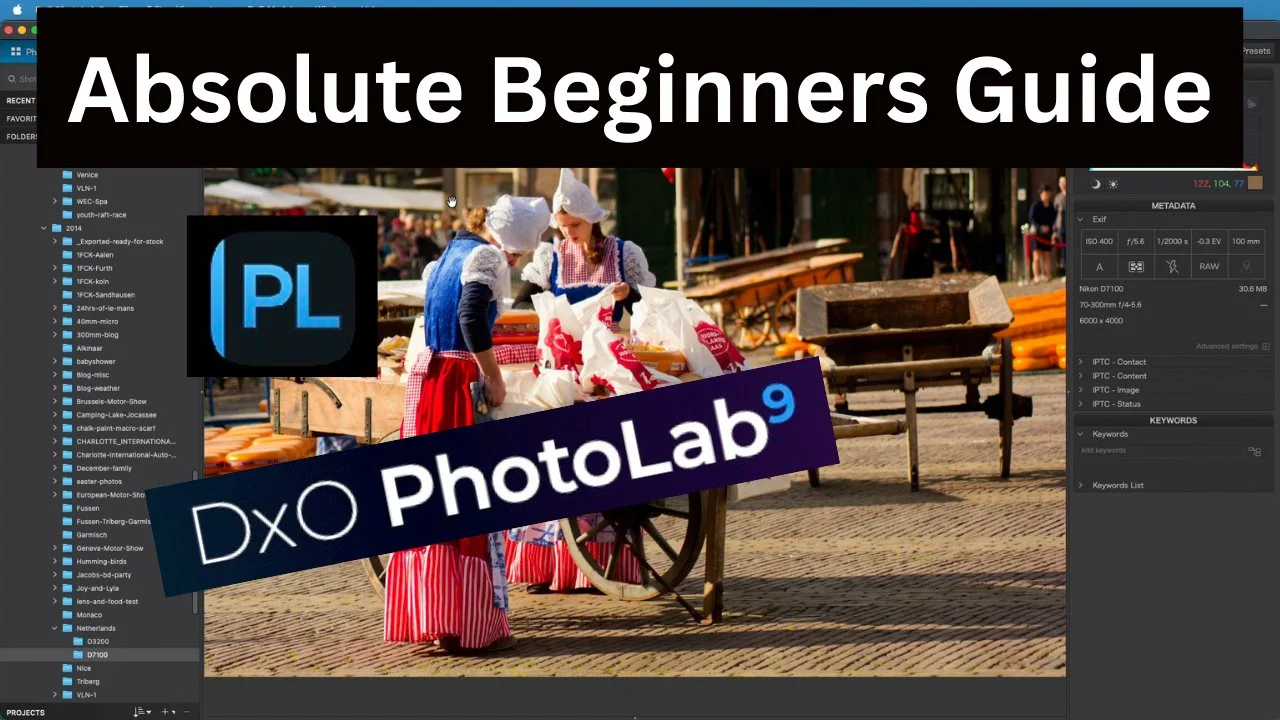
DxO PhotoLab 9 for Absolute Beginners: Easy Setup & Editing Basics (No Catalogs Needed!)
If raw photo editing feels intimidating, DxO PhotoLab 9 simplifies it all—no complex catalogs or databases required. In my latest YouTube tutorial, I guide absolute beginners through the essentials: hassle-free installation, folder-based workflows, automatic corrections, and key tools like Smart Lighting and ClearView Plus for quick, pro-level results. This companion blog post expands on the video's steps with extra tips for photography enthusiasts. Whether you're editing your first landscape or low-light shot, this will get you started fast. Watch below for the full walkthrough, and use code EDALDRIDGE15 for 15% off DxO software!
Why DxO PhotoLab 9 is Beginner-Friendly
Released in September 2025, PhotoLab 9 uses AI for stunning edits without overcomplicating things. Unlike catalog-based editors, it works like your file explorer—browse folders directly and edit on the fly. In the video, I emphasize its conservative defaults: No aggressive changes, just natural enhancements that give you room to tweak. Perfect for transitioning from JPEGs to RAW, where you control every "ingredient" like baking a cake.
Quick Setup: Customize for Efficiency
Start strong with these settings (as demoed):
Go to Settings > General tab.
Enable auto-updates and module downloads—these fetch camera/lens corrections automatically.
Set default presets to "DxO Style Natural" for RAW/RGB images—a solid, subtle base.
For comparisons, choose "No Corrections Without Geometry" to see raw vs. edited differences.
These tweaks ensure PhotoLab loads images ready-to-go, saving time for creativity.
No Catalogs: Simple Folder Browsing
PhotoLab shines in its simplicity—no importing photos into databases. Use the Photo Library tab like File Explorer: Navigate drives, folders (e.g., by year or event), and preview images. Search metadata (e.g., keywords from Photo Mechanic) or create projects/favorites for quick groups. It's intuitive—select, edit, export. In the video, I show how seamless it is, and how well it works on older files.
Auto Corrections: Built-In Magic
PhotoLab applies smart fixes on load:
Optics Modules: Download for your camera/lens combo (80,000+ supported). Fixes distortions, vignetting—demo shows before/after on a sample image.
Default Processing: Conservative and natural, mimicking in-camera JPEGs but with RAW flexibility. Compare modes (side-by-side or split) reveal subtle enhancements without overdoing it.
Key Tools for Quick Edits
We focus on three essentials in the Customize tab—perfect for beginners.
Smart Lighting: Balance Shadows & Highlights
Under the Light panel, this AI tool subtly lifts shadows (default intensity ~15). Demo: Turn it off/on to see minor but impactful changes—no clipping, just even exposure.ClearView Plus: Dehaze & Clarity Boost
Like Lightroom's Dehaze but smarter—default at 10 for haze removal and local contrast. Slide up to 43 for dramatic effects, but less is more. Great for foggy landscapes or urban shots.DeepPRIME XD: AI Noise Reduction
In the Detail panel, this denoises high-ISO images while sharpening details. Preview at 100% zoom to appreciate the clean results—ideal for low-light photography.
Other panels (Color for white balance, Geometry for fixes) are there, but start simple.
Workflow Tips & Demos
Compare Modes: Use split views to evaluate changes—grab the divider for interactive previews.
Undo/Reset: Ctrl+Z (Win)/Cmd+Z (Mac) for steps; reset panels if needed.
Export: Once edited, output JPEGs for socials—no fuss.
Video Demos: See real adjustments on sample images, like boosting shadows under a boat or clearing haze.
Final Thoughts: Start Editing with Confidence
PhotoLab 9 demystifies RAW for beginners—setup in minutes, edit in seconds. If this boosts your workflow, share your first edit in the comments below or on the video! For more DxO tutorials, film tips, and gear reviews, subscribe and like.
Questions? Drop them here. Happy editing!

Relaunching My Website: A Fresh Perspective on Photography
A new direction
Welcome back, everyone! I’m thrilled to announce the relaunch of my website, edaldridge.com. With a fresh new look, the site now serves as a comprehensive resource for photography enthusiasts. Here’s what you can expect:
A Fusion of Analog and Digital Photography
Photography is an art form that has evolved tremendously with technology, yet the charm of analog photography remains timeless. On my relaunched website, I delve into the nuances of both worlds. Analog photography offers a tactile experience, with film choices and development techniques that add a unique, personal touch to each shot. I share insights on selecting the right film for different lighting conditions and the joy of darkroom development. On the flip side, digital photography provides immediate feedback, extensive post-processing options, and the convenience of digital storage. My blog posts now cover photography gear reviews, software tips, and how to blend digital enhancements with analog aesthetics for stunning results.

How-To Tips for Photographers
Whether you're a seasoned photographer or someone who just picked up a camera, this "how-to" section is designed to enhance your skills across various aspects of photography. Topics will include the exposure triangle and crreative controls of the camera, composition, lighting, visual story telling and everything in between. The photograph is not finished in the camera so there will be plenty of how-to tips for the digital and analog “darkroom” processes. By mastering the areas of composition, the exposure triangle, lighting, and both digital and analog darkroom techniques, you'll be equipped to capture the perfect moment and edit your photos to tell a compelling story, whether you're working with the latest digital camera or a classic film camera.
Destinations and Inspiration
Exploring new destinations isn't just about traveling; it's a profound source of inspiration for photographers. Each location, from the bustling streets of Tokyo to the serene vistas of the Scottish Highlands, offers unique light, colors, and subjects that challenge and expand your photographic vision. Whether you're capturing the golden hues of an Italian village at sunset or the stark, minimalist beauty of Iceland's landscapes, every journey adds a new layer to your creative palette. These experiences fuel your imagination, encouraging you to experiment with different techniques, compositions, and even film types in analog photography. The diversity of environments you encounter can push you to break from your usual methods, leading to innovative images that reflect not only the beauty of the world but also your personal growth as an artist. Thus, each trip becomes not just a collection of photographs but a journey of inspiration, pushing the boundaries of what you thought possible through your lens.
Reviews
New and used equipment reviews will be included on the site as well to help you decide if a piece of gear will work for you or not. These will not be scientific but rather a real world review of what you can expect. Reviews of film and processing chemicals and darkroom kit will not be left out.
Join the Journey
I invite you all to explore the revamped edaldridge.com, where every click takes you deeper into the world of photography. Whether you're here to learn, to share, or to find inspiration, there’s something for everyone. Let’s capture moments that last a lifetime together.
Stay tuned for more updates, and as always, keep shooting!